Cranberry Walnut Pinwheels

cranberries.jpg

Here we are between Christmas and New Year’s…and that means over the past few weeks, I have spent countless hours in the kitchen. I’ve tried some new recipes and made many holiday favorites. I’ve even had several little helpers and I’ve loved every minute of it.

Hands down, one of my new favorite recipes has been these Cranberry Walnut Pinwheels from Diethood. The pie crust, cranberries, walnuts and orange zest compliment each other so well. You will enjoy every bite, and so will your family and friends.

Cranberry Walnut Pinwheels

Makes 20 Pinwheels


1 cup dried cranberries

1 cup chopped walnuts

1/2 cup sugar

zest of 1 orange

2 chilled pie crusts (The recipe uses refrigerated pie crust…I used my favorite homemade recipe)

2 tablespoons butter, melted

1 whole egg

2 tablespoons water

honey

Preheat oven to 400. Line a baking sheet with parchment paper and set aside. Place the cranberries, walnuts, sugar, and zest in a mixing bowl; mix until thoroughly combined. On a lightly floured surface roll out the pie crusts into two squares. Generously brush the pie crusts with the melted butter. Spread the cranberry filling on top of the pie crusts. Roll each pie crust into a log. Pinch the edges to seal. Combine the egg and water in a small bowl and beat until well blended. Brush each log with the egg mixture. Carefully cut each log into 10 slices. Place the slices, cut side up, on the prepared baking sheet, 1 inch apart. Bake for 12 to 15 minutes, or until golden brown. Place pinwheels on a cooling rack. Spread a teaspoon, or more, of the honey on each pinwheel. Let cool before serving.

Enjoy and I hope you have a very Happy New Year!


Cinnamon Cheesecake Squares

cinnamoncheesecake.jpg

I have a secret.

It is kind of shameful really.

But…here goes. Deep. Breath.

I don’t love pumpkin spice flavored…well…anything.

Let the judgment begin.

I love fall. I love the colors. I love the crisp cool air. I love cinnamon and ginger and nutmeg…but I’m not a huge fan of pumpkin. I love the idea of pumpkin and I love pumpkin scented things…I’m just not a huge fan of the taste.

That being said. I’m always excited to capture the taste of fall without the pumpkin. I have made these Cinnamon Cheesecake Squares a couple of times this fall and they seem to be a pretty big hit. These tasty little squares would be a great addition to any Thanksgiving table.

Cinnamon Cheesecake Squares

Recipe adapted from Creme De La Crumb

For the Crust 
15 graham cracker sheets
¼ cup sugar
½ cup butter, melted
1 tablespoon cinnamon
Cinnamon Roll Filling
¼ cup butter
½ tablespoon cinnamon
½ cup brown sugar
¼ teaspoon vanilla
1 tablespoon flour
Cheesecake Layer
24 ounces cream cheese, softened
1 egg at room temperature
2 cup sugar
2 teaspoons vanilla
Preheat oven to 350, line an 9×9 inch pan with foil and grease with cooking spray. Pulse graham crackers in your food processor until fine crumbs form. Add sugar and cinnamon and pulse. Add melted butter and continue to pulse another 30 seconds. Press mixture into prepared pan. Bake 5 minutes.
For the cinnamon roll filling: in a small sauce pan combine butter, cinnamon, and brown sugar. Cook over medium heat and stir until butter is melted and ingredients are combined. Stir in vanilla and flour.
For the cheesecake layer: in a large bowl whisk together egg and sugar until foamy. Add cream cheese, egg, and vanilla until smooth. Pour mixture on top of baked crust. Drizzle cinnamon roll filling over cheesecake layer in any pattern you desire and use a toothpick to swirl into cheesecake layer. Bake 35 minutes or until cheesecake is set. Allow to cool 30 minutes, then continue cooling in the fridge. When completely cooled, cut and serve. Store in airtight container in fridge.

Anniversaries & Mini Apple Pies

Mini Apple Pies


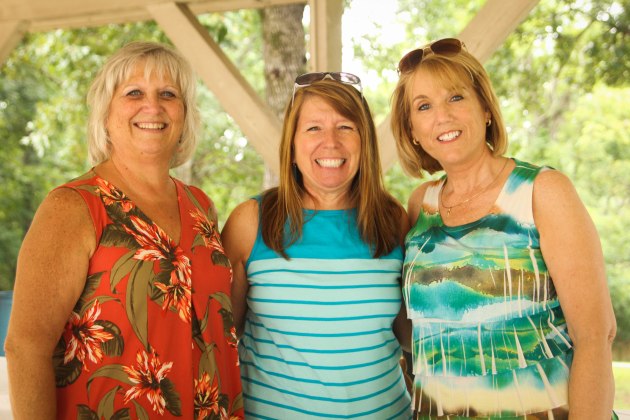
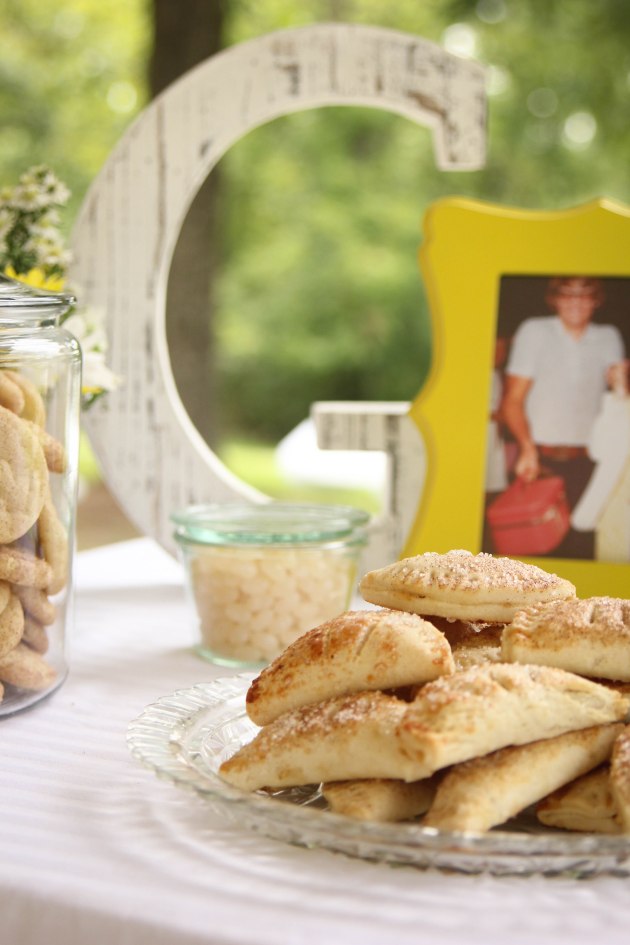
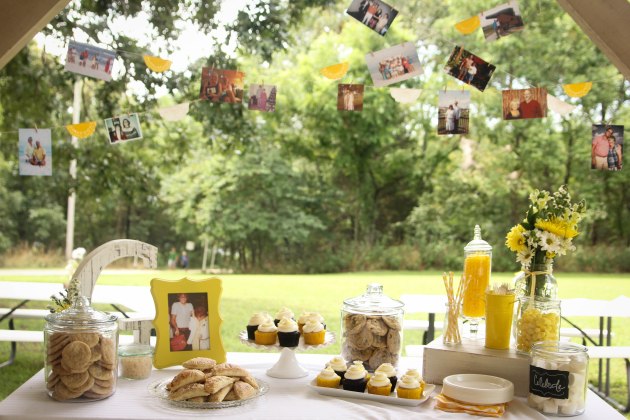
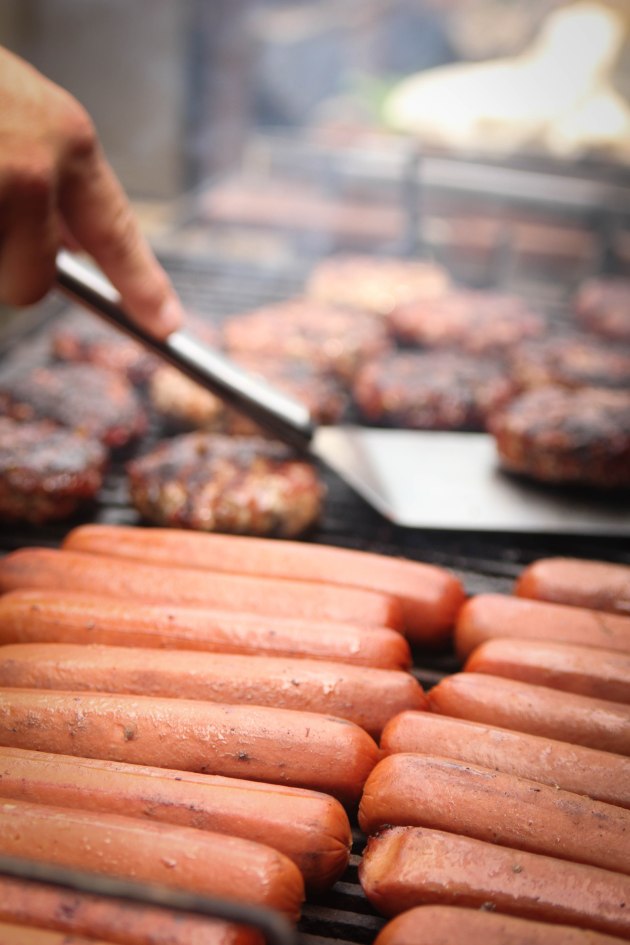
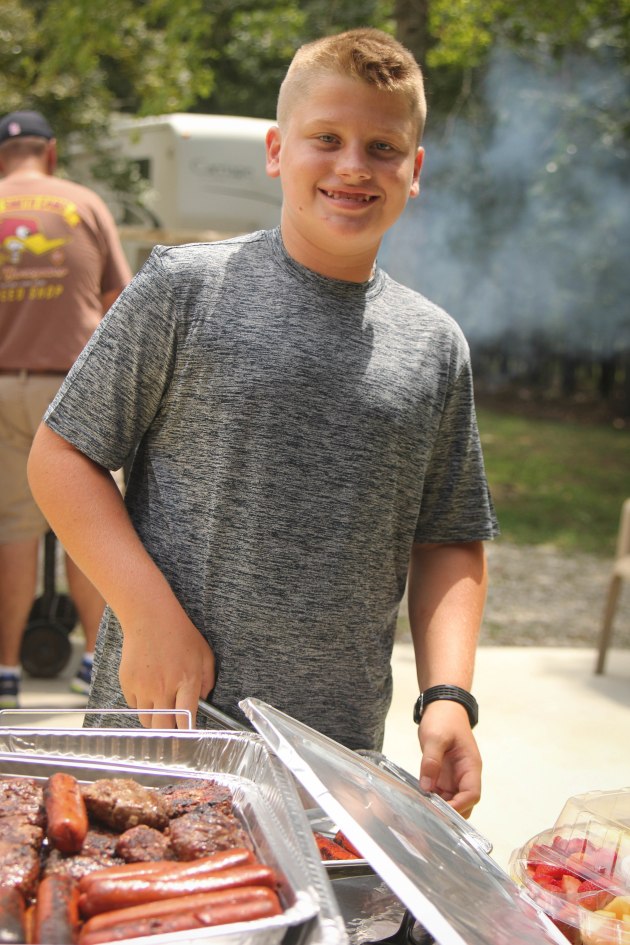
It really has been an exciting year for our family. My parents celebrated their 40th at the beginning of August! My parents (my mom will tell you it was all my dad) wanted to celebrate with friends and family at Table Rock Lake, so on August 13 we had a big party! My brother grilled hamburgers and hot dogs, the rest of the family executed the party flawlessly (between the wedding and this…I’m certain we could pull off events together). Since the party was outside, we went with finger desserts, cookies, cupcakes and these mini apple pies. They were a huge hit!

My mom and dad are loved by so many and I know that it is mostly because they have spent their lives loving people well…helping friends with little (and big) projects, welcoming neighbors who are new to the area, or cooking for friends and family who are celebrating and those who are needing some extra care. They love people. It has been such a privilege to get to watch over my lifetime…and hopefully I have learned a little along the way.

Mini Apple Pies

For the Crust:

1 stick cold butter grated then frozen (salted)

1 1/4 cup all purpose flour

1/4 cup ice cold water by the tablespoon

For the Filling:

1 Can Prepared Apple Pie Filling  –  Cut & Diced You can use homemade and I absolutely encourage it, but for this we needed several so I went the quick route.

Egg Wash – 1 egg + 1 tablespoon water whisked together

Cinnamon & Sugar

Grate your butter into a mixing bowl and place the bowl into the freezer for 15 minutes. Add 1 1/4 cup all purpose flour and cut it into the grated butter with a pastry cutter until you have coarse crumbs of flour coated butter. Add about 1/4 cup of ice cold water by the tablespoon to your coarse crumbs. You may not need this much, so add gradually as you mix by hand. When a dough ball is formed, gather it together and place it on a piece of parchment paper. Shape it into a round, flat disk and cover it with the parchament paper. Refrigerate for 1-2 hours.

Roll the dough out onto a well floured surface. Using a circle shaped cutter (or the rim of a glass), cut out as many circles as you can fit. Then gather up the remaining dough and cut out the circles again. Place circles on a baking sheet. Top one half of pie crust with 2 tablespoons of the diced apple filling. Fold pie crust over and crimp edges with the tines of a fork. Cut small holes in the top of each pie.

Using a pastry brush, brush on the egg wash and sprinkle generously with cinnamon and sugar. Bake at 400 for 15-20 minutes or until golden brown on top. Enjoy!

Here are a few more pics from the 40th Bash!


40th-1 40th-2 40th-3 40th-4 40th-5 40th-6 40th-7 40th-8 40th-9 40th-11 40th-12

I Wasn’t Expecting That…

I’m a planner…sometimes (most of the time) to the point that it is a fault. I plan meals, my running route, parties, my day; I *heart* check lists.

I really am working on this.

Over the past two years of my life, there has been so much I never planned for myself. I can assure you none of us Type A personalities add divorce to our check lists. One could also never expect or plan for all of the lessons that come from it: lessons about self, vulnerability, people, family, healing, forgiveness, communication and the grace of a God who can bring such beauty from pain.

I also could have never dreamed that a really handsome, smart and kind guy I had known since middle school would end up being part of my life plans. In August of last year, I got a facebook message from Josh…this guy who I had been friends with in middle school and highschool and had bumped into occasionally over the past several years. We both found ourselves divorced with kiddos. So many details of our story you might not even believe: the timing, how we fit together, our families, our love of thin mints. Honestly, it’s all pretty crazy…well not the thin mint part…everyone loves those.

So then…this happened.

051_Campbell_6325 079_Campbell_0362 086_Campbell_0378 152_Campbell_0425 158_Campbell_6558 177_Campbell_6601 207_Campbell_6670 217_Campbell_0481

208_Campbell_0454

248_Campbell_0521 259_Campbell_0532

232_Campbell_0503 271_Campbell_0552 272_Campbell_0556

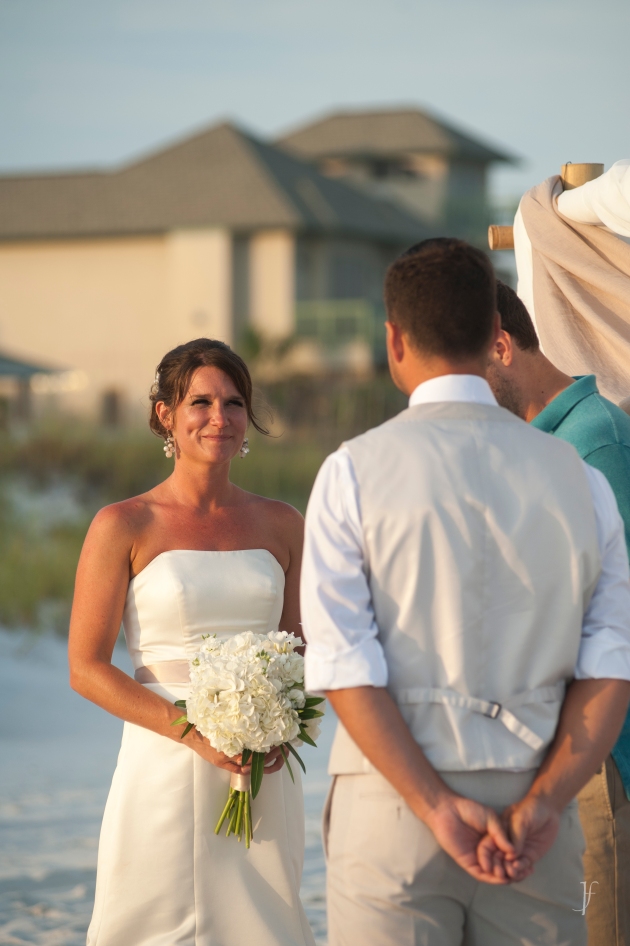
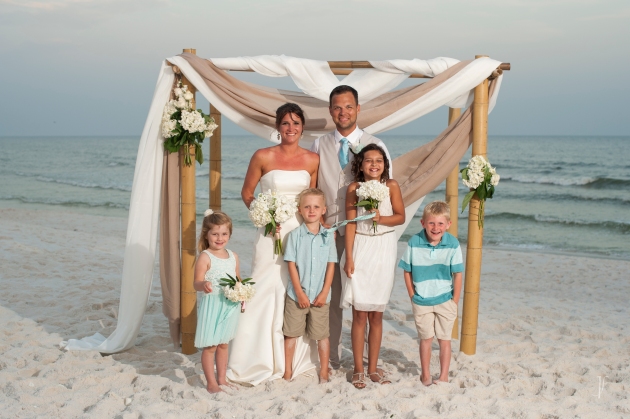
In June we got married, on the beach with our kiddos and families. Thankful for our families who helped make the day happen. It was a pretty perfect day.

We are now two months into this blending family thing…which has moments that will melt your heart and moments that will make you want to say curse words. I never expected Josh or being a step mom, it is so crazy good.

Images by Funes Photography


White Chocolate Macadamia Nut Cookies

IMG_8812 (1).jpg

This year has been a big year for my family. Lots and lots to celebrate! My dad turned 60 and my parents will celebrate their 40th Anniversary in just a few weeks! We needed it…because 2015 was a pretty heavy year.

There has also been lots of really good things for Ean, Nora and myself. I promise an update in the next couple of weeks…giving said big news the poper post it deserves.

Anyways…back to my parents and cookies. My parents took a trip in February to Hawaii to start this crazy good year off right. My mom asked what I would like for them to bring back before they left on the trip. I told her ‘Macadamia Nuts.’ And so they brought me several bags of these glorious little nuts…and I finally put the first bag to good use.

I can honestly say that white chocolate macadamia nut cookies have always been some of my favorites. Many times the ones I have had were lacking in nuts because they are so expensive…but this recipe is full of them, balancing the sweet and salty so nicely.

Jen’s White Chocolate Macadamia Nut Cookies

2 1/4 cups all purpose flour

1 1/2 teaspoons baking soda

1/2 teaspoon salt

1/2 cup shortening

1/2 cup butter, softened

3/4 cup brown sugar

3/4 cup white sugar

2 eggs lightly beaten

1-2 teaspoons vanilla extract

1 – 12 oz bag white chocolate chips

6 oz chopped macadamia nuts

In a medium bowl, mix flour, soda and salt together and set aside. Combine shortening, sugars and vanilla; beat until creamy. Add beaten eggs and flour mixture, alternating between the two. Mix well. Stir in white chocolate chips and macadamia nuts. If you have time, chill the dough for an hour in the refrigerator, this will help the cookies from becoming too flat. You can skip this step and the cookies will still be wonderful! Roll into balls (I like to use a 1 tablespoon cookie scoop) and bake 10 minutes at 350 degrees. Do not overbake. Once they have set on the cookie shoot for 5-8 minutes, place on a cooling rack.

Enjoy!


I Like You Sprinkles

511313

So…I’m loving these ‘I like you’ Cupcake Sprinkles! I got them as a gift for Christmas from one of my favorite people. Fish Eddy & Amy Sedaris teamed up to make these amazingly cute sprinkles. You can order them online at Fish Eddy’s for yourself, or they make a perfect gift for one of your favorites.

A Few of My Favorite Foodie Gifts

If you have been following this blog for a while, chances are you know I get excited about giving gifts. It is up there on my list of favorite things (along with baking and throwing parties). These are a few of my favorite foodie gifts for this Christmas.

Homemade Vanilla Extract – I am a huge fan of homemade gifts…especially vanilla. Once you use it, I promise you will be hooked.

Gingerbread Chocolate from Askinosie Chocolate  – Love this gift because not only is the packaging creative, it supports a local business and gives back internationally!

Seven Daughter’s Moscato – Seriously the cutest bottle of wine I have ever purchased. Love the branding and packaging for this Moscato! I picked this bottle up at Hyvee.

I’m pretty sure the recipients of these gifts are going to be pretty excited too!


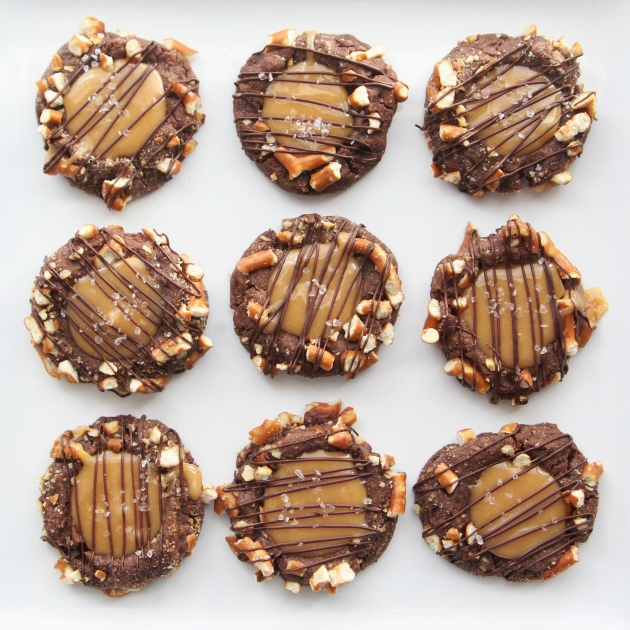
Salted Caramel Pretzel Thumb Print Cookies

IMG_6810

I’ve spent a great deal of time in the kitchen over the past week…and it has been wonderful. Every year, I have my Christmas favorites, but I love to add new recipes to the mix as well. This year I wanted to add a salted caramel recipe. I found a great recipe from Cooking Classy and made some adaptions to make these Salted Caramel Pretzel Thumbprint Cookies. Perhaps not the shortest name for a cookie…but I promise they are super delicious!

Salted Caramel Pretzel Thumbprint Cookies

Makes: 2 dozen

1 cup all-purpose flour

1/3 cup cocoa powder

1/4 tsp salt

1/2 cup unsalted butter, softened

1/3 cup granulated sugar

1/3 cup packed light-brown sugar

1 large egg, yolk

1 1/2 tsp vanilla extract

2 Tbsp buttermilk

1 1/4 cups finely chopped pretzels

15 caramels

2 1/2 Tbsp heavy cream

Coarse sea salt

3 oz chopped milk chocolate or semi-sweet chocolate chips, or chopped chocolate

1 teaspoon oil

Preheat oven to 350 degrees. In a mixing bowl, whisk together flour, cocoa powder and salt, set aside. In the bowl of an electric stand mixer fitted with the paddle attachment, whip butter, granulated sugar and brown sugar on medium-high spread until slightly pale and fluffy, about 2 minutes. Mix in egg yolk (set egg white aside in a bowl in refrigerator) and vanilla extract. Blend in buttermilk. With mixer set on low speed, slowly add in dry ingredients and mix just until combined. Shape dough into a ball and drop onto a sheet of plastic wrap, flatten dough into a 6-inch disk then wrap with plastic wrap and chill 45 minutes, until slightly firm.

Place finely chopped pretzels in a bowl. Shape dough into 1-inch balls  then working with one at a time, firmly roll dough into chopped pretzels. Transfer to parchment paper lined baking sheets and make a deep indentation with thumb in the center of each dough ball. Bake in preheated oven until set, about 10 – 12 minutes. Remove from oven then using the bottom of a rounded teaspoon, gently press down on existing indentation (to create more space for caramel). Cool on baking sheet several minutes then transfer to a wire rack to cool completely.

Place caramels and cream in a microwave safe bowl. Heat mixture in microwave on HIGH power in 30 second intervals, stirring after each interval until melted and smooth. Spoon caramel into indentation in cookies and sprinkle tops with a small pinch of sea salt.

Place chocolate and oil into a separate microwave safe mixing bowl. Heat mixture on 50% power in 30 second intervals, stirring after each interval until melted and smooth. Pour into a piping bag or ziplog bag and cut tip of corner. Drizzle over cookies. Allow to set then store in an airtight container.


Peanut Butter Cookies

Peanut Butter Cookies

I can’t believe Thanksgiving is next week! So much baking to be done, and so many new recipes to try for the holidays! There are several classics that are so great this time of year too…like peanut butter cookies. They make a great addition to any cookie tray or as a cutely packaged and delicious gift!

Peanut Butter Cookies

1 cup unsalted butter, softened to room temperature
1 cup  granulated sugar
3/4 cup packed light brown sugar
2 large eggs
2 teaspoons vanilla extract
1 cup creamy peanut butter
3 cups + 2 Tablespoons all-purpose flour
1 teaspoon baking soda
1 teaspoon baking powder
1/2 teaspoon salt
1/4 cup granulated sugar, for rolling

Using a mixer, cream together butter and both sugars together on medium speed until smooth. Add eggs and mix until combined, about 1 minute. Scrape down the sides and bottom of the bowl as needed. Add the vanilla and peanut butter and mix on high until combined. Set aside.

In a separate bowl, combine flour, baking soda, baking powder, and salt. Add to the wet ingredients and mix on low until combined. Dough will be thick, yet very sticky. Cover dough tightly and chill for at least 2hours in the refrigerator.

Preheat oven to 350F degrees.

Roll balls of dough (about 1.5 tablespoons of dough per cookie) and roll into granulated sugar. Place cookies 2 inches apart on the baking sheets. Press fork into the tops to create the criss-cross pattern. Bake for 10 minutes or until very lightly browned on the sides. Remove from the oven and let cool on baking sheet for 5 minutes before transferring to a wire rack to cool completely.

Enjoy!!!